In the delicate art of pastry making, meringue holds a special place. A fluffy, light, and deliciously sweet dessert, it can, however, become a puzzle for pastry enthusiasts. Sometimes its texture is not as firm as desired, it may turn out too liquid, or it may deflate. But before throwing in the towel—and the meringue along with it—there are tips to salvage the situation. Even a failed meringue can regain its splendor, provided you know the right techniques. Here are some valuable tips to correct the consistency of a failed meringue.
The Failed Meringue: Its Mysterious Origins
The meringue, that sweet cloud that melts in your mouth, can sometimes play tricks on us. One of the main reasons for a failed meringue is a too liquid consistency. This unpleasant situation can have several causes. Be sure to stabilize the meringue. If you don’t add enough, it will make your mixture too wet and prevent it from achieving the sought-after firm texture.
Another common reason for a too liquid meringue is insufficient whipping time. The key to achieving a nice consistency is to beat the egg whites for a long time until they form stiff peaks when you lift the whisk.
It may also be that the use of a greasy bowl or utensils is to blame. Before each use, make sure your containers and whisks are perfectly clean and free of greasy residues that could compromise the stability of your preparation.
Now that we have identified the potential origins of the problem, let’s move on to possible solutions to correct a too liquid meringue.
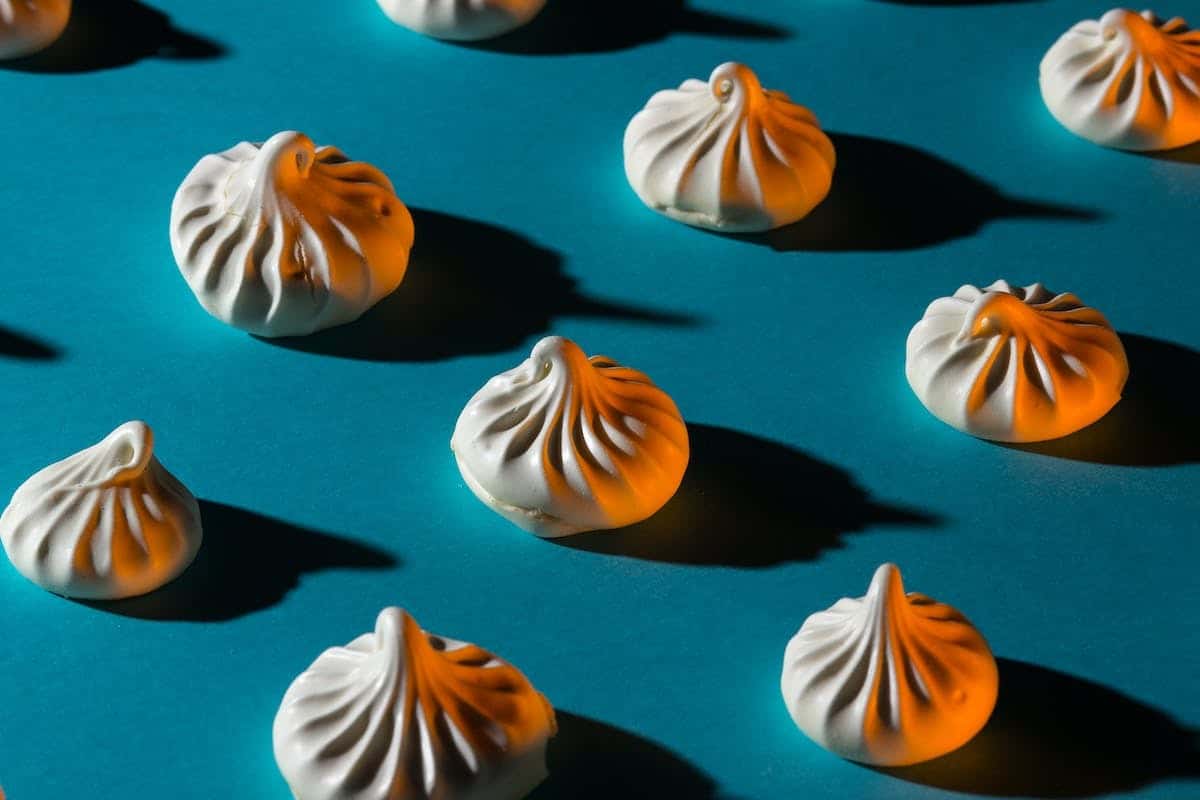
Signs of a Failed Meringue: How to Recognize Them
You need to know how to recognize the signals indicating a failed meringue. Here are some clues to consider:
The liquid consistency: If your meringue fails to hold and collapses as soon as you lift it, that’s a clear sign of a problem. A soft and fluid texture indicates a poorly made meringue.
The absence of stiff peaks: When you whip your egg whites, they should form stiff peaks when you remove the whisk. If the peaks collapse quickly or do not form at all, it indicates that your preparation has not reached the right consistency.
The lack of shine: A successful meringue should have a nice shine on its surface. If your preparation looks dull and matte, there is likely a malfunction somewhere in the process.
The presence of liquid residues: By closely observing your bowl after whipping your egg whites, if droplets of water have formed at the bottom of the container, this may indicate that water extraction was not effective during the whipping.
The brown or yellowish color: An unusual coloration can also signal an error in making your meringue. It may result from overcooking or from the inappropriate choice of sugar used.
By identifying these telltale signs, you will be able to quickly detect if your meringue has failed and act accordingly. In the next section, we will discuss tips for correcting a too liquid meringue and restoring its splendor.
Tips for Correcting the Consistency of a Failed Meringue
Section 2: Tips for correcting the consistency of a failed meringue
Now that you have identified the warning signs of a failed meringue, let’s move on to the tips that will allow you to turn the situation around. Here are some valuable pieces of advice:
Gradual addition of sugar: If your meringue is too liquid, it may be due to an excessive amount of sugar added at the beginning of the process. One tip is to add the sugar gradually while continuing to beat the egg whites until the desired texture is achieved.
Use of cream of tartar: Cream of tartar is a natural stabilizing agent that helps strengthen the structure of whipped egg whites. By adding a pinch of cream of tartar during whipping, you can help make your meringue firmer and less liquid.
Extra time with the mixer: Sometimes, it simply takes whipping a few more minutes to give your meringue the desired consistency. Be patient and continue to beat until your whites form stiff peaks.
Extended baking: If despite all your efforts, your meringue remains too liquid after being baked, you can try an extended baking to allow it to dry further. Slightly lower the oven temperature and bake for a few more minutes while watching closely to prevent burning.
Recycling: If your meringue is truly failed and you cannot correct it, don’t throw it away! You can still use it in another way. For example, by adding it to a pastry cream to make a delicious lemon meringue pie or by transforming it into small individual meringues.
By following these simple yet effective tips, you will be able to rectify the consistency of a failed meringue and save your dessert. Feel free to experiment and adjust the quantities according to your specific needs. In the next section, we will discuss solutions for remedying a meringue that is too firm or brittle.
Avoiding Mistakes When Correcting a Failed Meringue
Now that we have seen the tips for correcting a failed meringue, it’s important to discuss the common mistakes to avoid. Indeed, some practices can worsen the problem instead of solving it.
Do not overbeat the egg whites: While whipping is essential for achieving a light and airy texture, be careful not to go too far. If you whip your egg whites for too long, they may turn to liquid, and your meringue will be difficult to recover. It is therefore recommended to stop as soon as the whites form stiff peaks.
Avoid excessive use of sugar: Sugar plays a crucial role in the structure and stability of whipped egg whites, but using too much can make your meringue too sweet and fragile. Always ensure to respect the proportions recommended in the recipe to avoid any imbalance.
Do not incorporate the sugar improperly: When adding sugar to the whipped egg whites, make sure to integrate it gradually while continuing to beat gently until it dissolves completely. An improper incorporation of sugar can lead to a grainy or lumpy texture in your final meringue.
Avoid introducing fats: Fats, such as egg yolks or oil, can compromise the structure of your meringue. Therefore, be sure to carefully separate the whites from the yolks and eliminate any traces of fat before starting the process.
The oven temperature: Baking is a crucial step for achieving a perfect meringue. Be sure to preheat your oven to the temperature recommended in the recipe to ensure even and controlled baking. A temperature that is too high can burn your meringue, while a temperature that is too low can prevent it from setting.
By avoiding these common mistakes, you will increase your chances of successfully correcting a failed meringue and achieving a delicious and satisfying final result. Keep in mind that each situation can be unique, so feel free to adjust the techniques based on the results you obtain. In the next section, we will discuss solutions for remedying a meringue that is too firm or brittle.
Advanced Techniques to Save a Failed Meringue
Now that we have explored the tips for correcting a failed meringue, let’s move on to more advanced techniques that can help you save this delicate preparation.
Reverse bain-marie: If your meringue is too liquid and does not hold properly, you can try the reverse bain-marie technique. To do this, take a heat-resistant bowl and place it over a pot of simmering water. Then pour your meringue into the bowl and whip vigorously for a few minutes until it thickens. Be careful not to cook the egg whites! This method will help stabilize the texture of the meringue by restoring its desired consistency.
Adding a stabilizing agent: If despite all your efforts, your meringue remains unstable, you might consider using a stabilizing agent such as cream of tartar or lemon juice. These acidic ingredients help strengthen the proteins in the egg whites, promoting their firm and stable whipping.
Gradual reintegration of powdered sugar: If your meringue is grainy or has lumps after adding powdered sugar, there is a simple solution to correct this. Start by gently removing any visible pieces with a clean spatula. Sift the remaining powdered sugar over the meringue and gradually fold it in gently using a spatula. This will help achieve a smoother and more homogeneous texture.
Extended baking: If your meringue is soft or sticky after the intended baking time, you can try slightly extending the baking time. Increase the duration recommended in the initial recipe while watching closely to avoid burning. This technique can help further solidify your meringue and give it a firmer consistency.
You should note that these advanced techniques are additional methods that require some experience in handling whipped egg whites. You must carefully follow the instructions provided in your initial recipe and adapt these tips according to the results obtained.
Even though correcting a failed meringue may seem complex, there are always solutions to set things right. With a little practice and some simple tips, you will be able to save your culinary preparations every time. Feel free to experiment and adjust these techniques according to your own tastes and preferences to achieve delicious and impeccable results.
Tips to Prevent Failed Meringues in the Future
Now that you have discovered valuable tips for correcting the consistency of a failed meringue, think about how to ensure your meringue creations succeed every time.
Opt for fresh, quality egg whites: Egg whites are the cornerstone of any successful meringue. It is crucial to choose fresh eggs that are free from any residue or trace of yolk. Also, make sure they are at room temperature before starting the preparation.
Use fine sugar or powdered sugar: Prefer fine sugar or powdered sugar rather than granulated sugar when whipping your egg whites. These sugars will dissolve more easily in the egg proteins, ensuring a smooth and homogeneous texture.
Strictly adhere to the quantities indicated in the recipe: Pastry is a precise art where every measurement counts. Therefore, make sure to carefully follow the recommended quantities in your recipe, both for the egg whites and for the sugar, in order to achieve a perfect balance between structure and texture.
Whip with patience and consistency: Gradually whip your egg whites using an electric mixer at medium speed. Be careful not to whip them too quickly, as this could lead to instability in the meringue. Be patient and ensure that you achieve stiff peaks before adding the sugar.